
Installation
CLIFF Localization Suite is a localization plugin for Unreal Engine 5.8 with two modules: CliffLocalizationSuite (Runtime — CLIFF data model and parser) and CliffLocalizationSuiteEditor (Editor — official pipeline integration, import/export and AI translation). This page covers installation, enabling and verification.
Requirements
| Item | Requirement |
|---|---|
| Engine version | Unreal Engine 5.8 (EngineAssociation: 5.8) |
| Platforms | Win64 / Mac / Linux (PlatformAllowList) |
| Localization target | At least one Localization Target in the project (created in the Localization Dashboard) |
| Python | Not required. The plugin is pure C++ at runtime |
| Network (optional) | Only for AI translation, which calls the DeepSeek API |
NOTE
The Runtime module has no editor dependencies, so Game and Shipping targets package normally. Import, export and AI translation all live in the Editor module and never ship in a runtime build.
Install the plugin
From Fab
- Search for “CLIFF Localization Suite” on Fab, or open the product page
- Add the plugin to your Epic Games account library
- Install it for the target engine version through the Epic Games Launcher
From source
-
Copy the
CliffLocalizationSuitefolder into your project’sPlugins/directory (create it if needed) -
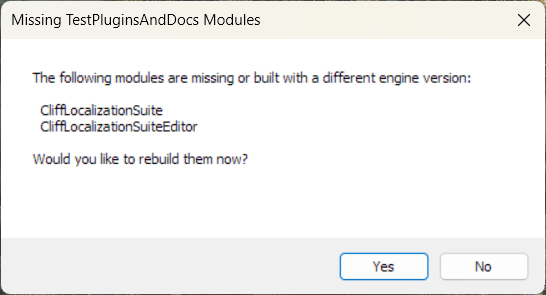
Open the project and choose Yes when Unreal offers to rebuild the new plugin
-
When the build finishes, open Edit > Plugins and search for “CLIFF Localization Suite”
-
Enable the plugin and restart the editor
IMPORTANT
The distribution is source-only:
.upluginplusSource/andContent/, with noBinaries/,Intermediate/or.pdbfiles. The first enable therefore compiles locally, which needs a working C++ toolchain.
Enable the plugin
-
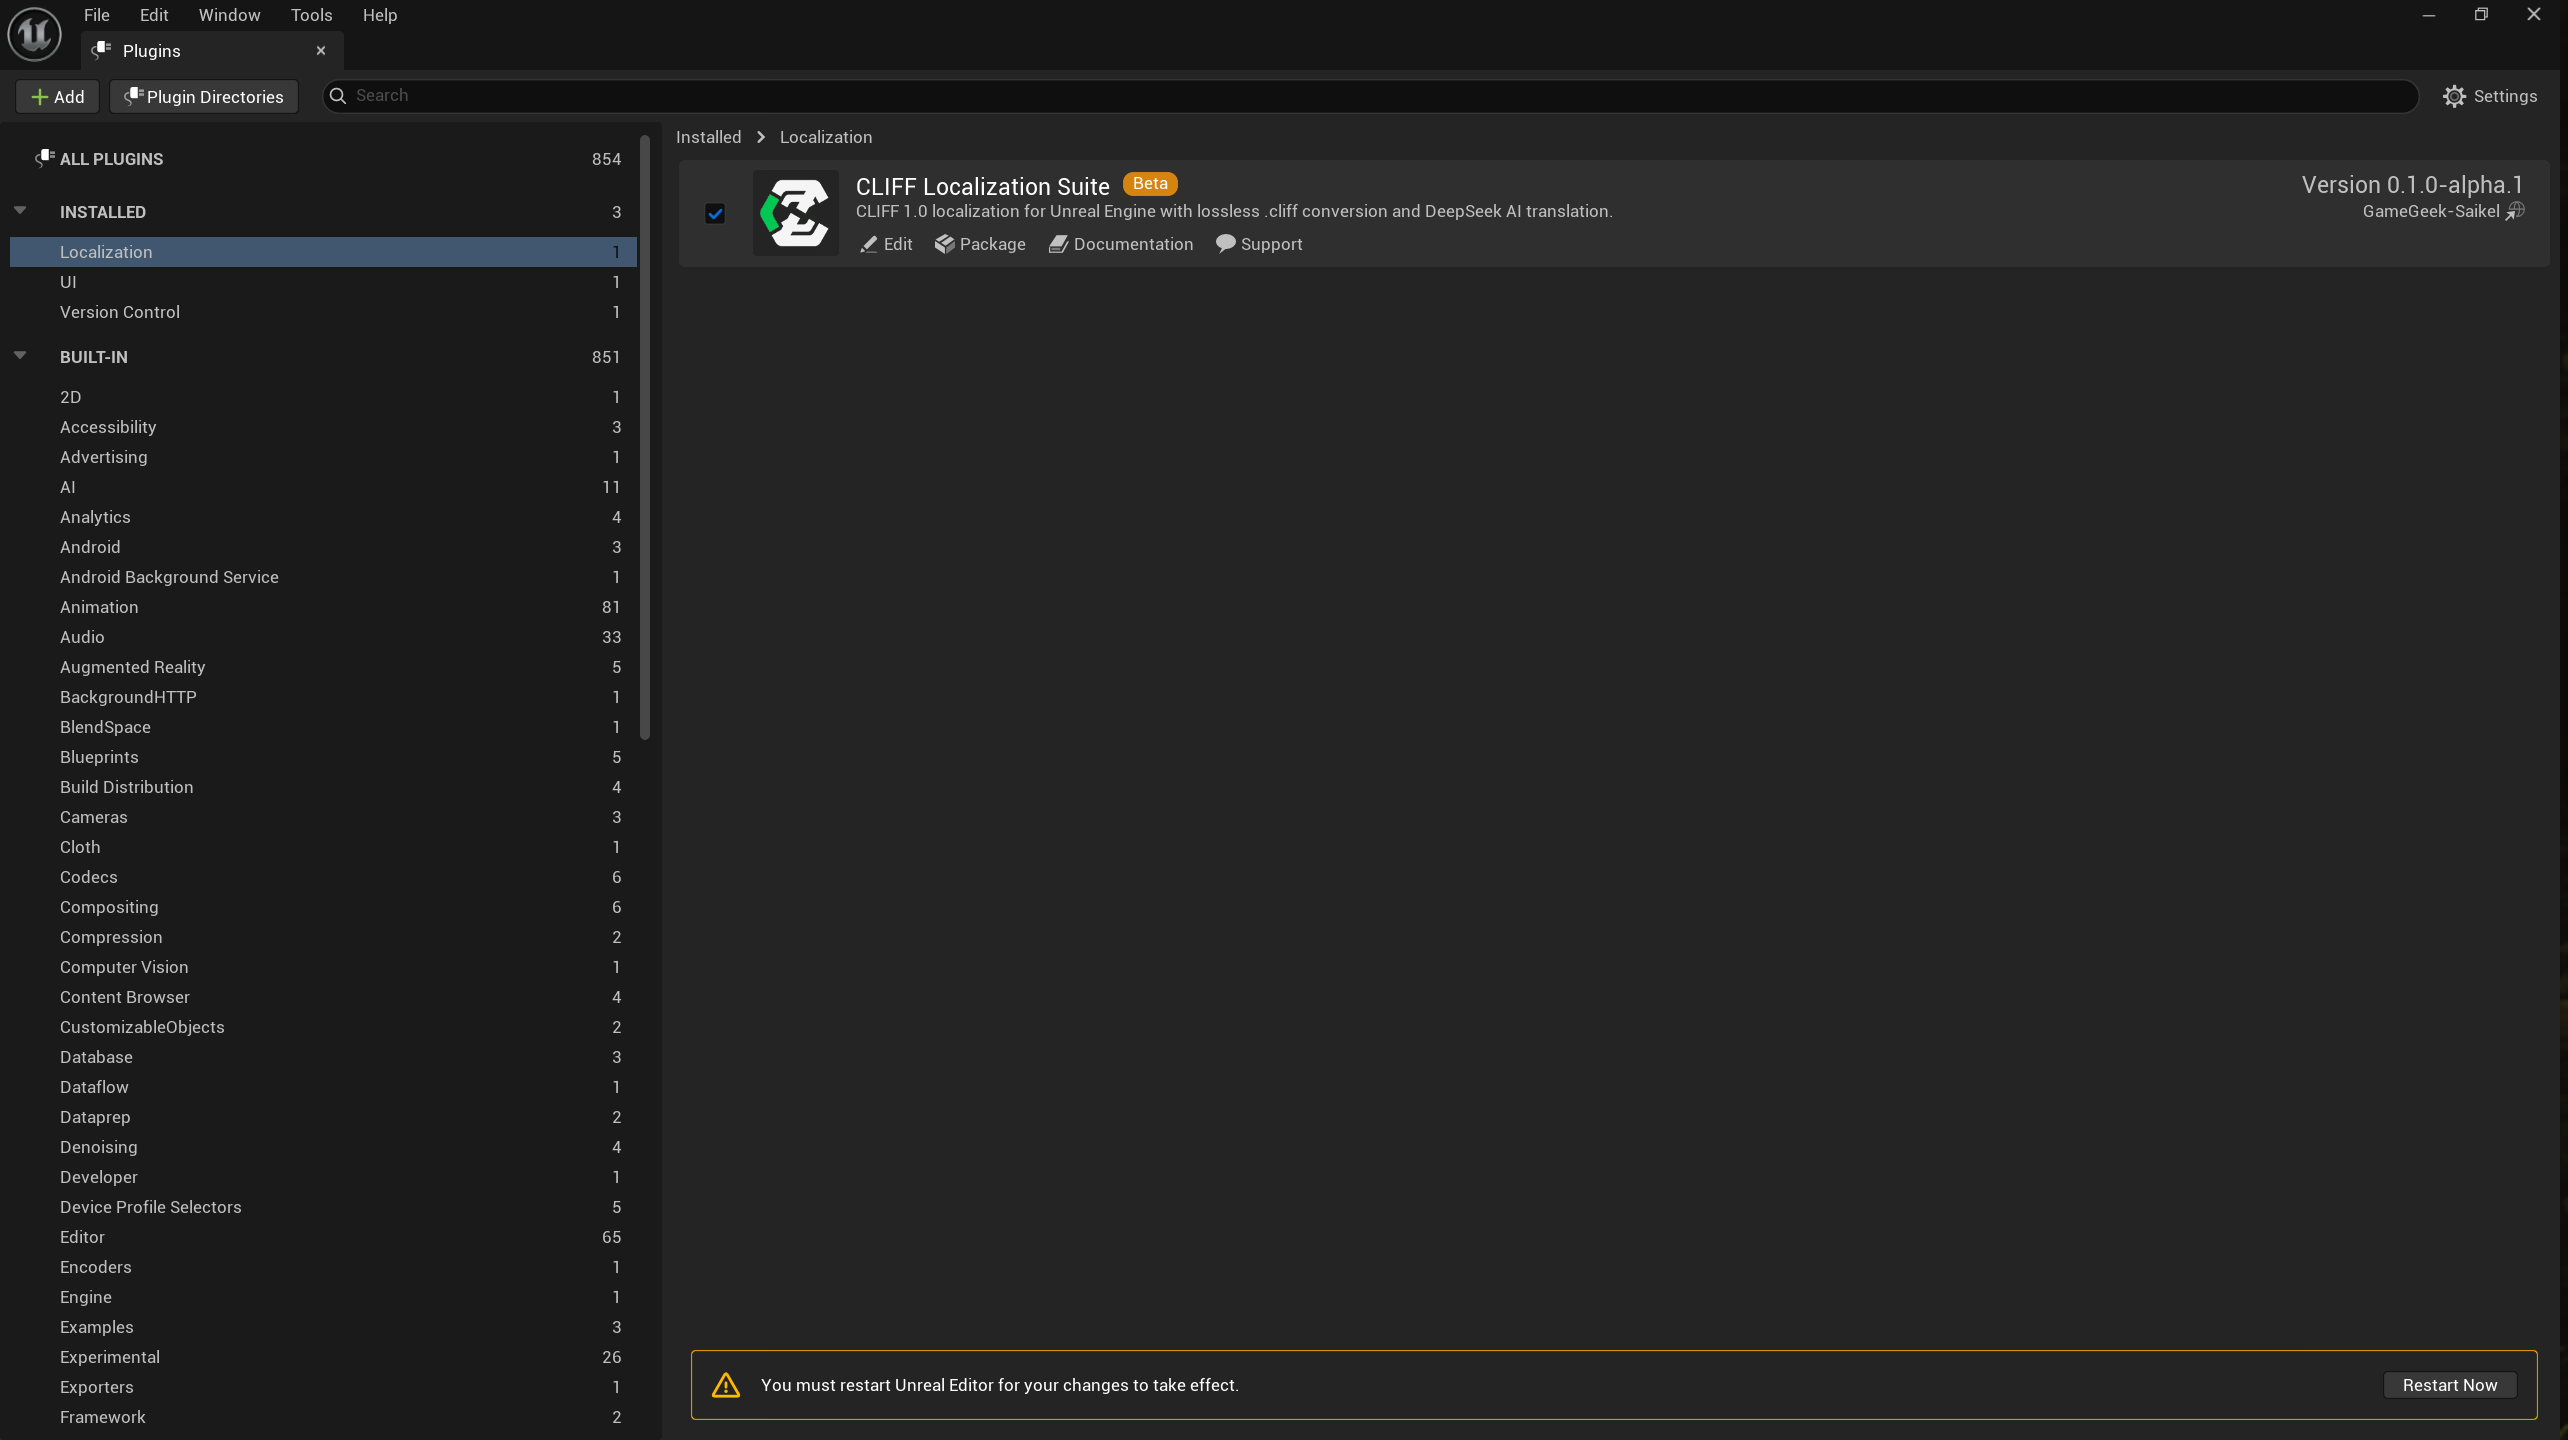
Open Edit > Plugins
-
Search for “CLIFF Localization Suite”
-
Tick the CLIFF Localization Suite checkbox
-
Click Restart Now in the bottom-right corner
NOTE
On startup the plugin registers itself as an official
LocalizationServicemodular feature and selects itself as the active provider, so the Localization Dashboard already has the CLIFF buttons on its toolbar. The log printsprovider registered and selected as modular feature 'LocalizationService'.
Choose the provider
If the CLIFF buttons are missing from the Dashboard toolbar:
- Open Tools > Localization Dashboard
- Pick CLIFF Localization Suite in the Localization Service Provider dropdown
- Reopen the Dashboard — the Target and TargetSet toolbars now show CLIFF 导入 / CLIFF 导出 / AI 翻译 on the right-hand side
TIP
The provider choice is snapshotted when the Dashboard builds its toolbars. If the Dashboard was already open, close and reopen it.
Show plugin content
The plugin ships its own localization data (7 targets × 15 languages). To browse it:
- Open the Settings menu in the top-left of the Content Browser
- Tick Show Plugin Content
- The targets’ manifests, archives and compiled resources appear under
Plugins/CliffLocalizationSuite/Content/Localization/
Project settings
Open Edit > Project Settings > Plugins > CLIFF Localization Suite — four categories:
| Category | Contents |
|---|---|
| Identity | CLIFF Namespace: the project identifier used in CLIFF headers (lowercase kebab-case) |
| Semantic Mapping | The Clan to Namespace, Namespace to Type and Namespace to Emotion tables |
| Workflow | Default directories for the import and export file dialogs |
| AI Translation | DeepSeek API key, model, prompts, batching and retry parameters |
Every field is documented in the settings reference.
C++ module dependencies
To reference CLIFF types from your game or plugin Build.cs:
// Runtime: CLIFF data model, parser, validator, serializer, semantic mapping and settings
PublicDependencyModuleNames.AddRange(new string[]
{
    "Core", "CoreUObject", "Engine", "DeveloperSettings",
    "CliffLocalizationSuite"
});
// Editor: importer, exporter, AI translation and the GatherText commandlets
PrivateDependencyModuleNames.AddRange(new string[]
{
"CliffLocalizationSuiteEditor"
});NOTE
The runtime module is named
"CliffLocalizationSuite".CliffLocalizationSuiteEditorisType: Editor, so it only builds for editor targets and is never part of a Game or Server target.
Verify the installation
1. Console self-check
Run this in the editor console (~):
CliffLocalizationSuite.HelloThe log line CliffLocalizationSuite.Hello: parser, importer and exporter are active (M5 integration). confirms the modules loaded.
2. Dashboard buttons
Open Tools > Localization Dashboard, select a target and confirm the toolbar shows CLIFF 导入 / CLIFF 导出 / AI 翻译.
3. Round-trip smoke test
- CLIFF 导出 → pick an output directory → confirm each culture directory contains a
.clifffile and the root holds the.cliffmap.json - CLIFF 导入 → pick one of those
.clifffiles → confirm the official progress window completes and the log can be copied - Open Window > Localization > Translation Editor and confirm the entries and translations look right
The full walkthrough is in Dashboard workflow.
TIP
If the build fails, check that the engine is UE 5.8, that the project has generated C++ project files, and that the module names are spelled
CliffLocalizationSuite/CliffLocalizationSuiteEditor.