
Using Preset Animations
Texturge ships with 16 animation presets covering five categories: opacity, translation, deformation, color, and blending. Using presets requires no asset creation — assign a preset Blueprint to a widget, set the text, and play.
TIP
This tutorial covers usage. To author your own animations, continue with “Creating Custom Animations”.
Meet the Preset Library
Applies to: learning which built-in animations the plugin ships with and their usage conventions.
Preset assets live in Plugins/Texturge/Content/TextAnimation/Preset/ and are all text animation blueprints (UTextAnimationBlueprint) that can be assigned directly to a widget:
NOTE
If you cannot find the presets in the Content Browser, check Show Plugin Content in the Settings menu at the top left of the Content Browser (see”Installation & Configuration”).
| Preset | Effect |
|---|---|
FadeIn | Per-glyph fade-in |
FadeOut | Per-glyph fade-out |
Typewriter | Per-glyph stepped reveal |
SlideIn | Slide-in at an angle (with bounce) |
Bounce | Elastic decay bounce entry |
Shake | Random decaying shake |
Wave | Sine wave flow, fades out at the end |
Glitch | Random offset + color separation |
Scale | Elastic scale entry |
Rotation | Rotation entry |
Pulse | Repeating scale pulse (looping) |
Twist | Horizontal compression twist entry |
PopIn | Elastic overshoot pop-in |
Swing | Pivot swing decay entry |
Rainbow | Per-glyph hue cycling |
Tint | Per-glyph gradient toward a target tint color |
NOTE
The plugin also ships a complete demo project (under
Content/TextAnimation/):WBP_TextAnimation_Demo(demo widget),DA_TextAnimation_Demo(demo data asset with tag mappings preconfigured), andDT_TextAnimation_Demo(demo data table). Open the demo widget to preview all presets. If you cannot find these assets in the Content Browser, check Show Plugin Content in the Settings menu at the top left.
Using Presets in UMG
Applies to: the fastest way — applying a preset animation to UI text.
-
Right-click in the Content Browser > User Interface > Widget Blueprint to create a widget (e.g.
WBP_Title) -
Open the Widget Designer, search for Animated Text Block in the Palette, and drag it onto the canvas
-
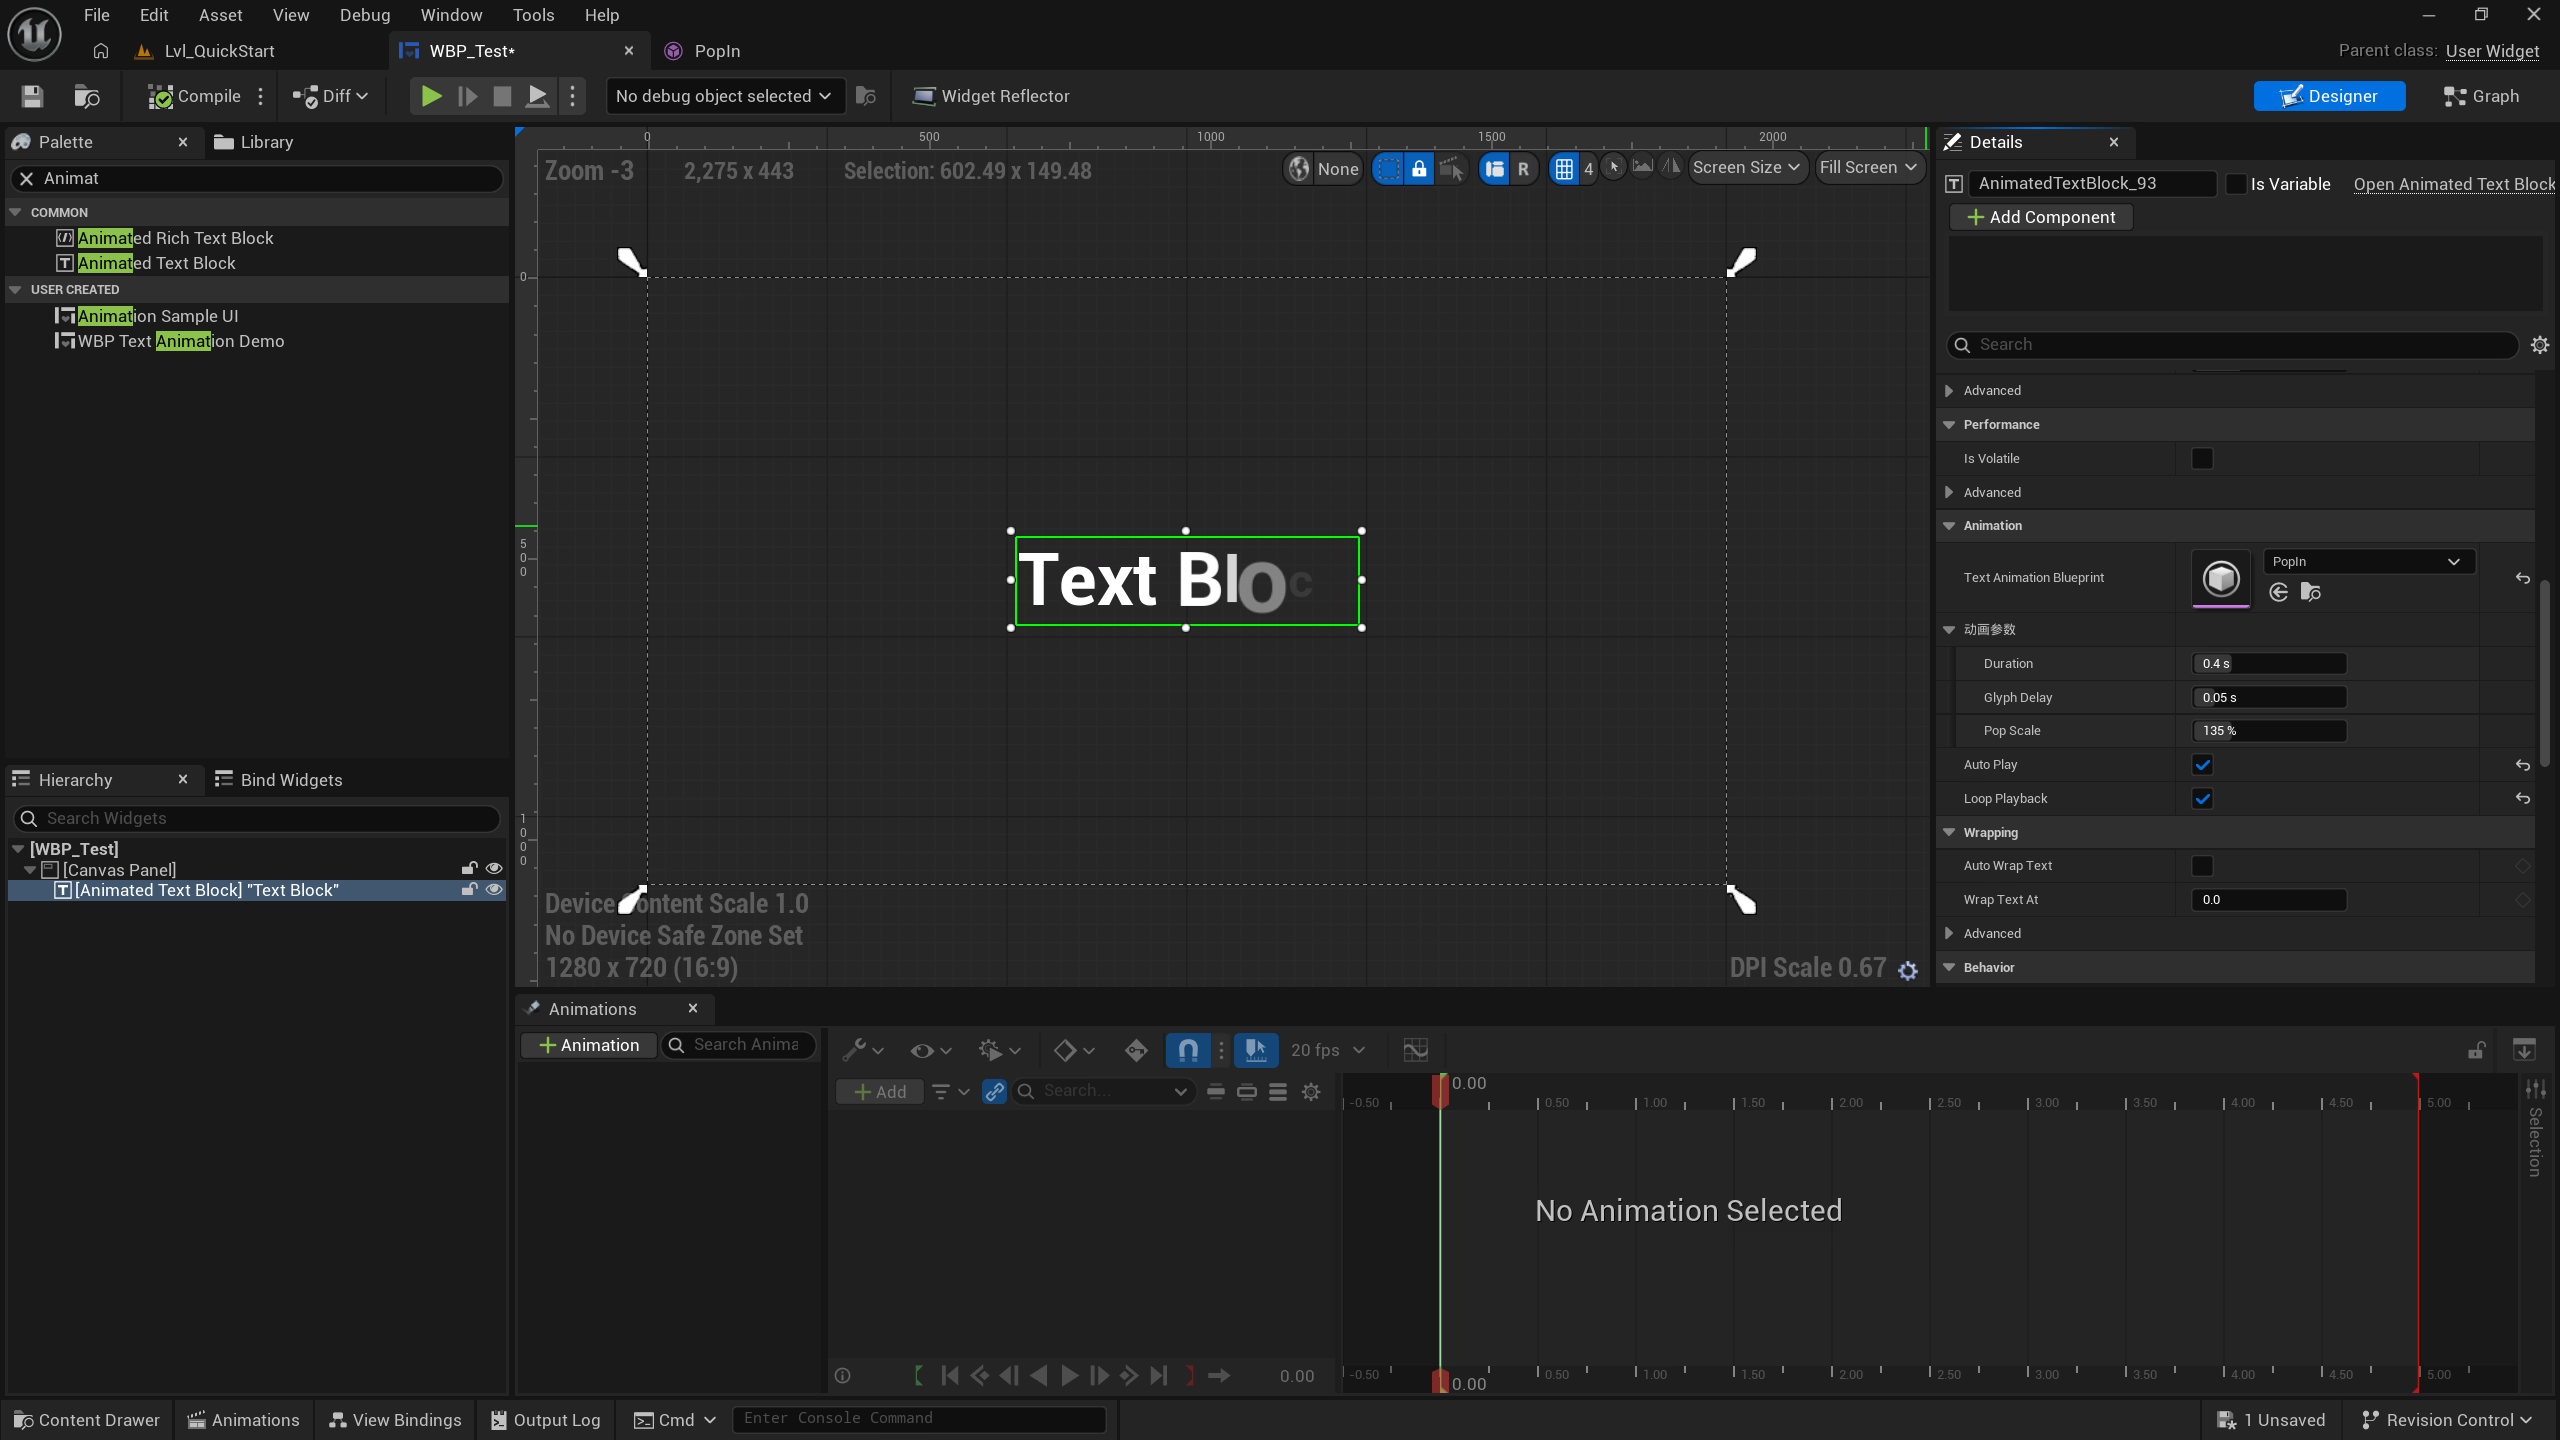
In the Details panel set Text Animation Blueprint to a preset asset (e.g.
PopIn)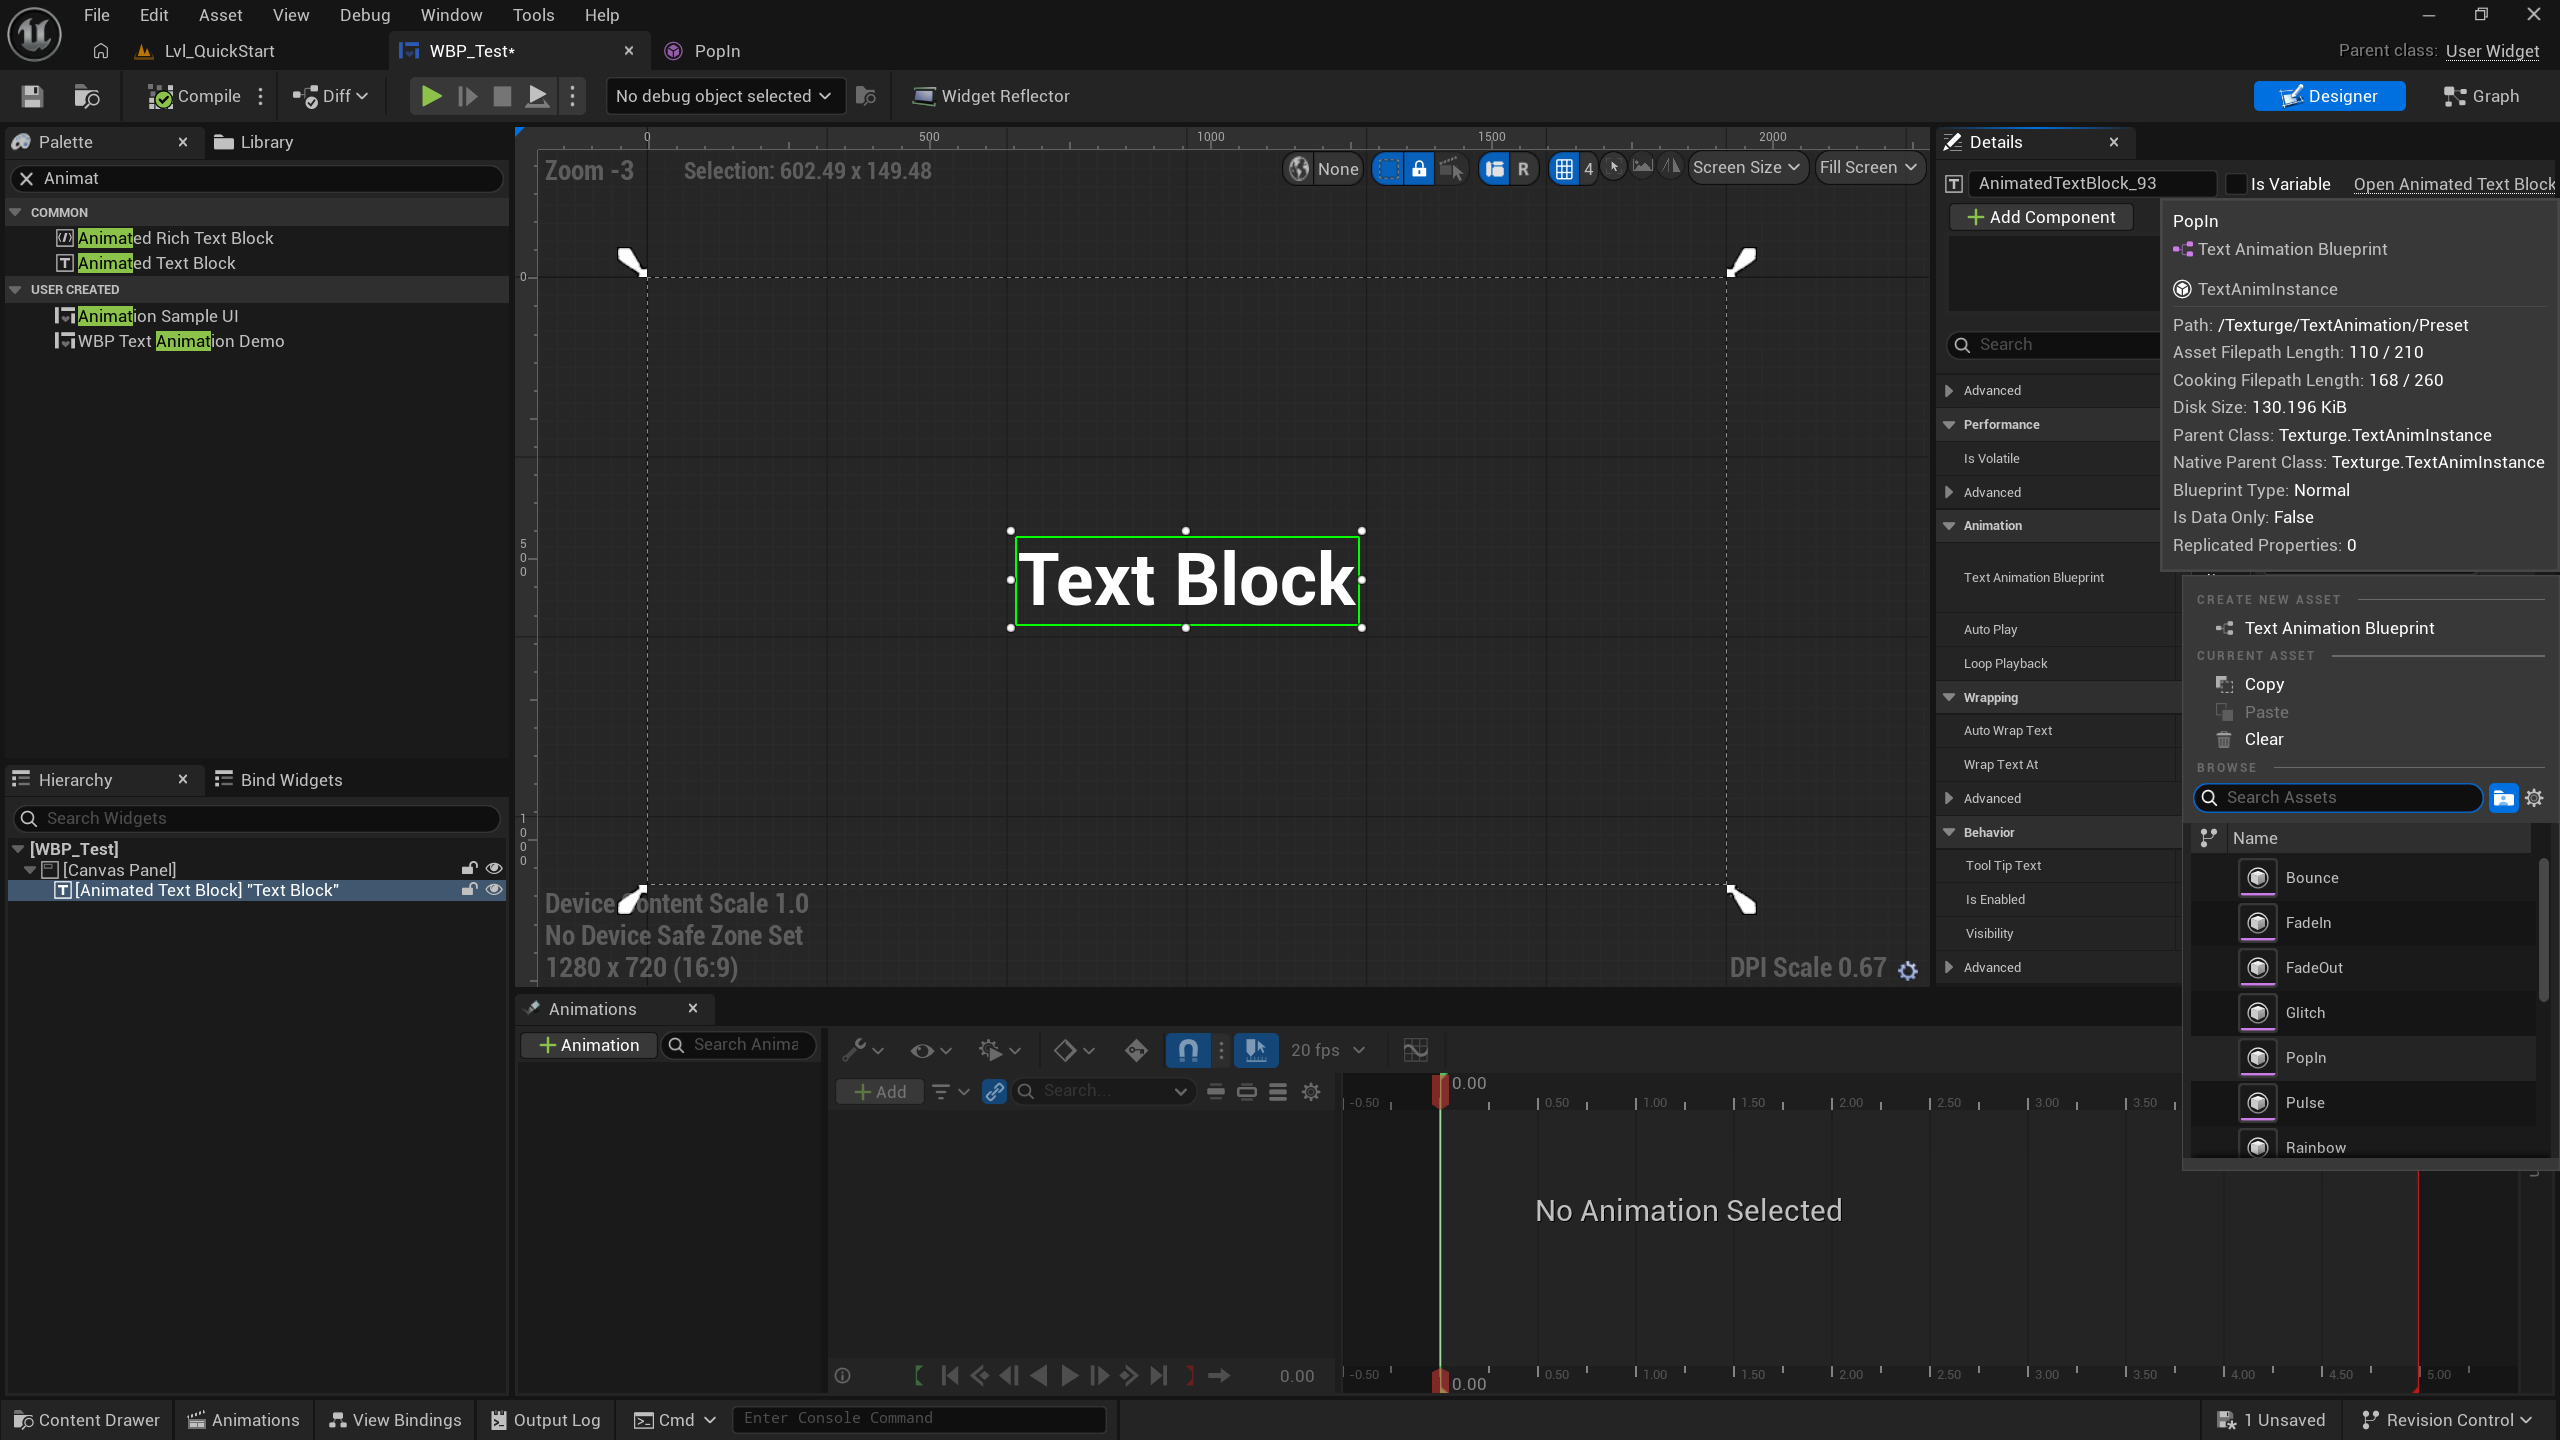
-
Set the Text property to the content to display (e.g. “Hello Texturge”)
-
Check Auto Play, or call the
Playnode at runtime -
Run PIE (
Alt+P) to preview the effect
Fine-Tuning Preset Parameters
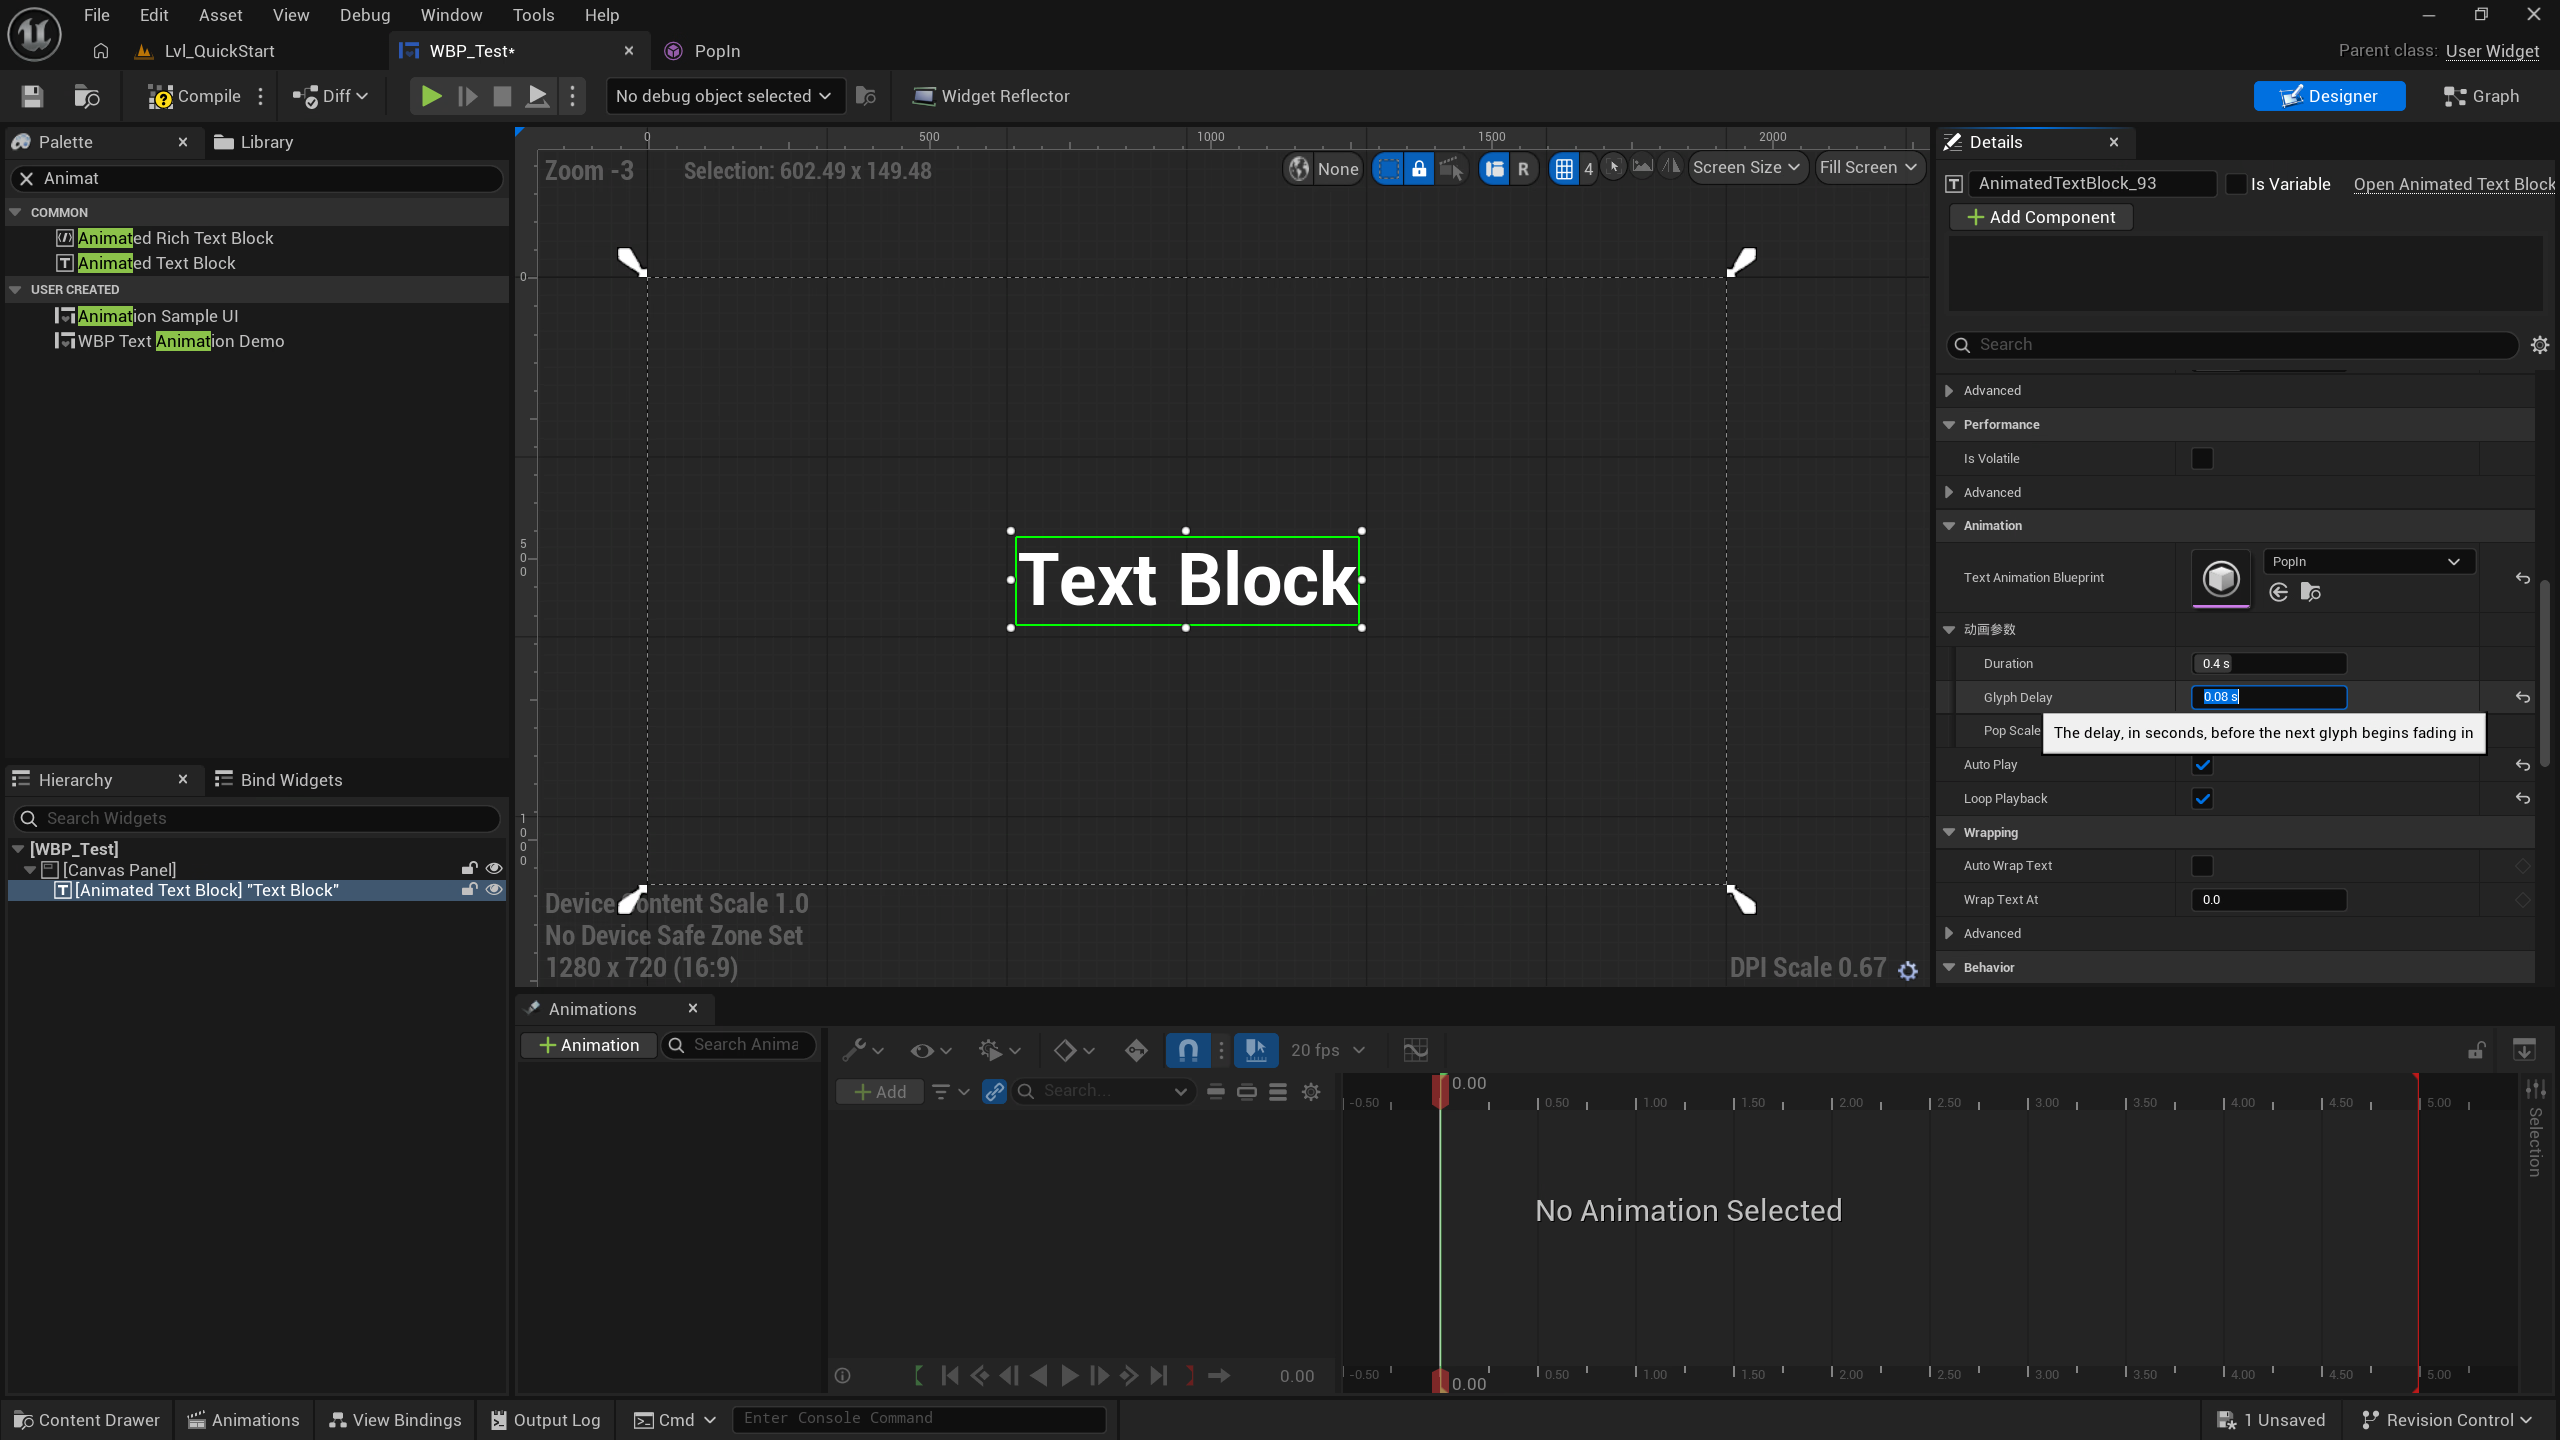
Preset Blueprint parameters are Blueprint variables (e.g. Duration / Glyph Delay / Intensity) that can be tuned per-widget in the Instance Parameter Overrides section of the Details panel, without modifying the preset itself:
-
Expand Instance Parameter Overrides (
UAnimParameterOverrides) in the Details panel -
Under Float Overrides, add the variable name (e.g.
Glyph Delay) and a value (e.g.0.08) -
Play and observe — widget instance overrides take precedence over preset defaults
TIP
Parameters can also be adjusted dynamically at runtime: call the
Set Blueprint Variablenode (e.g. setGlyph Delay), and a 3-frame cooldown automatically triggers a re-bake.
Combining Presets with Rich Text Tags
Applies to: using different presets for different segments of the same text — “Welcome” fades in, “World” pops in.
-
Right-click in the Content Browser > Data > Data Asset > select Text Animation Data Asset (
UTextAnimationDataAsset)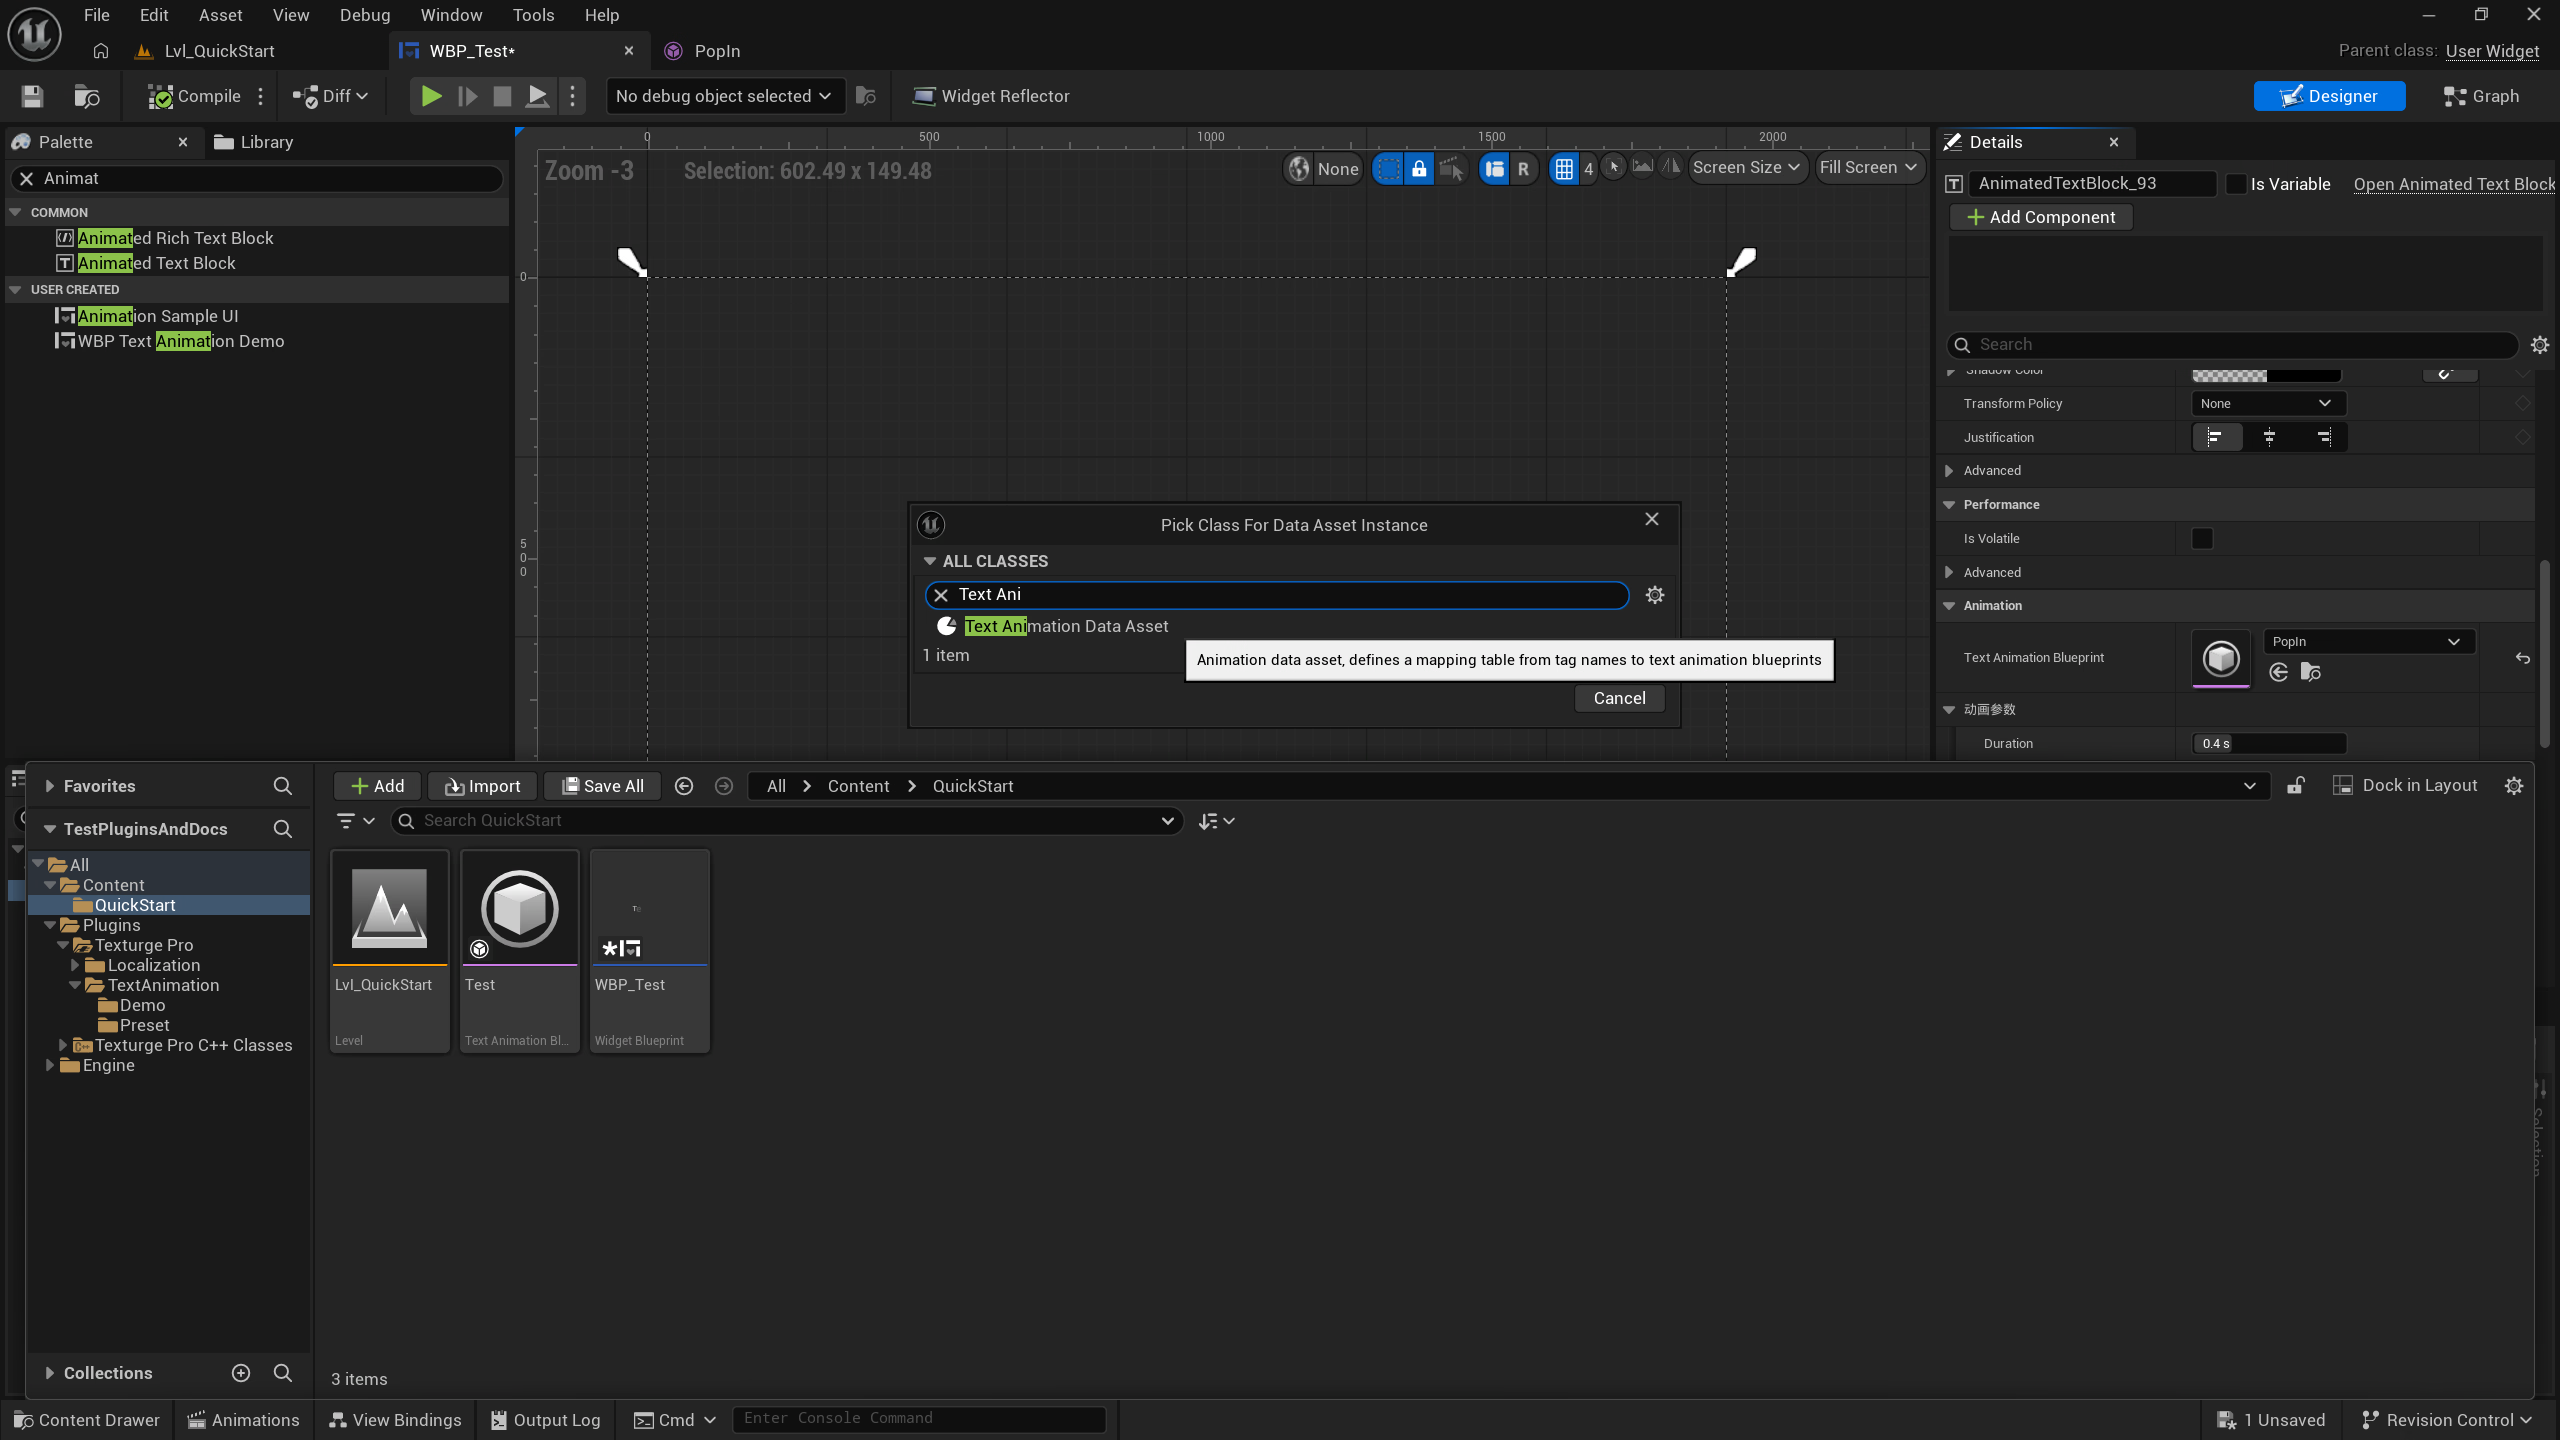
-
In Entries, configure an entry for each preset you want to use: Tag Name (e.g.
fadein) → Text Animation Blueprint (e.g. theFadeInpreset)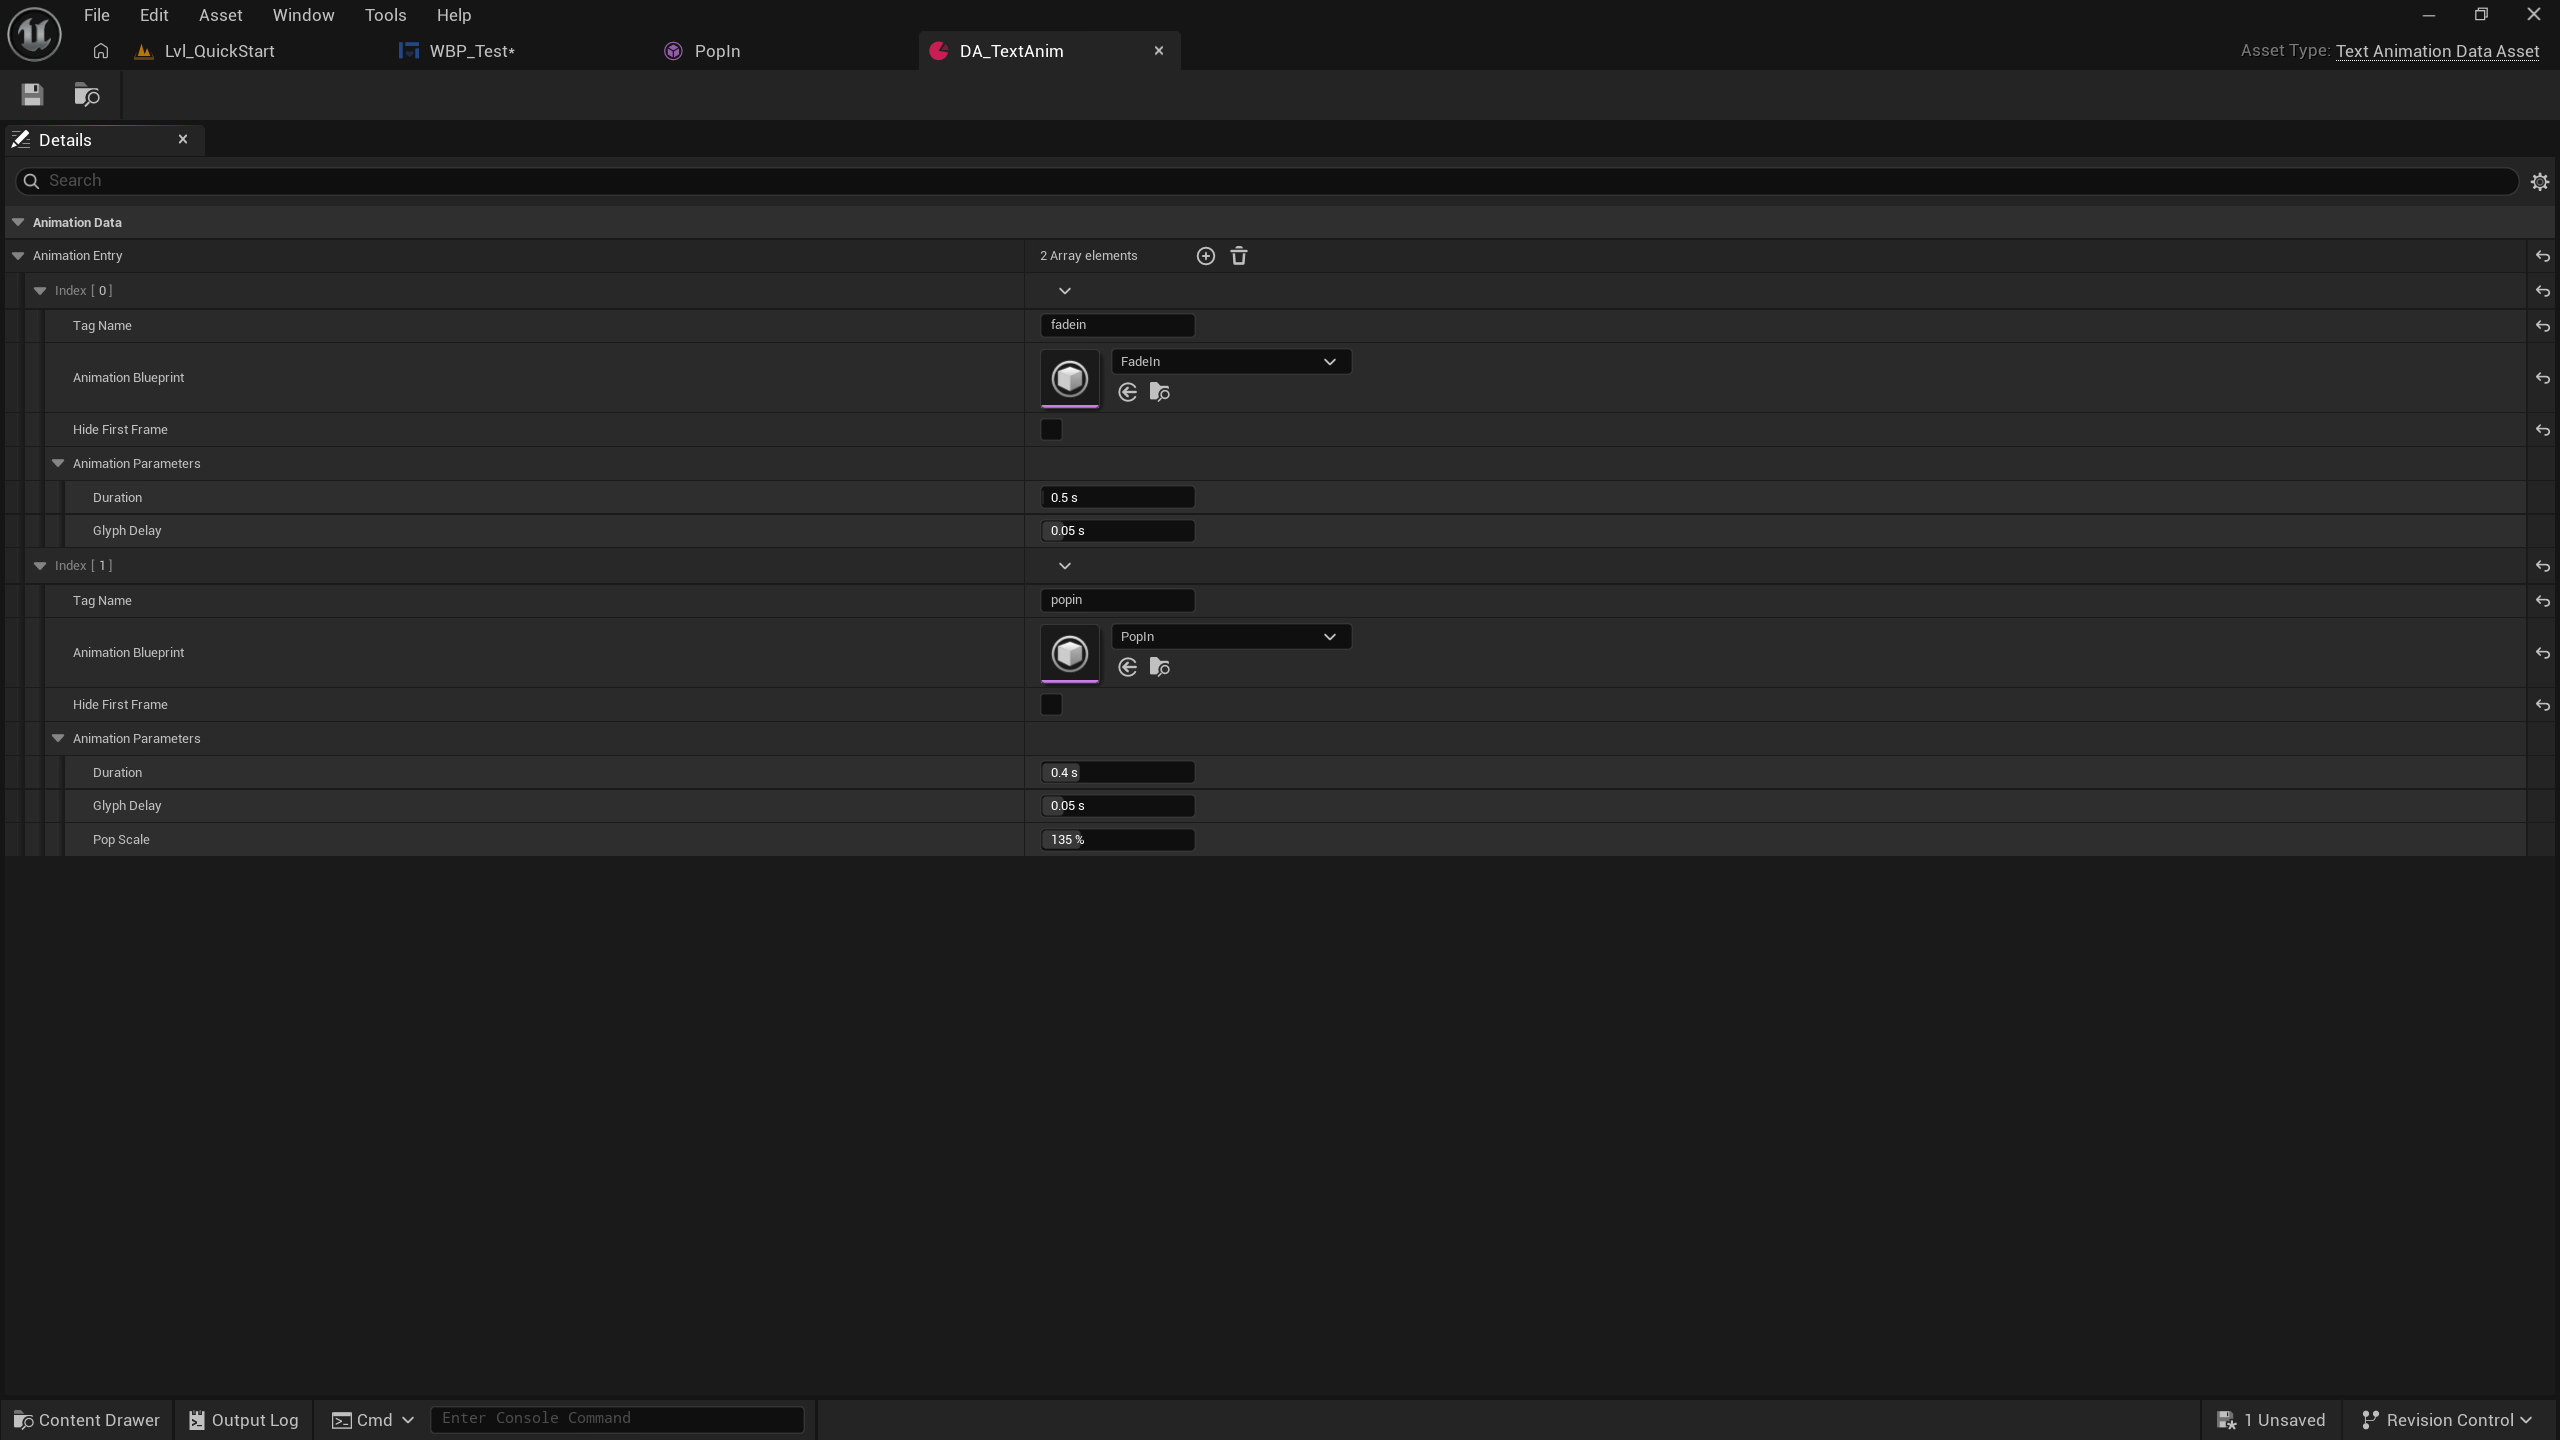
-
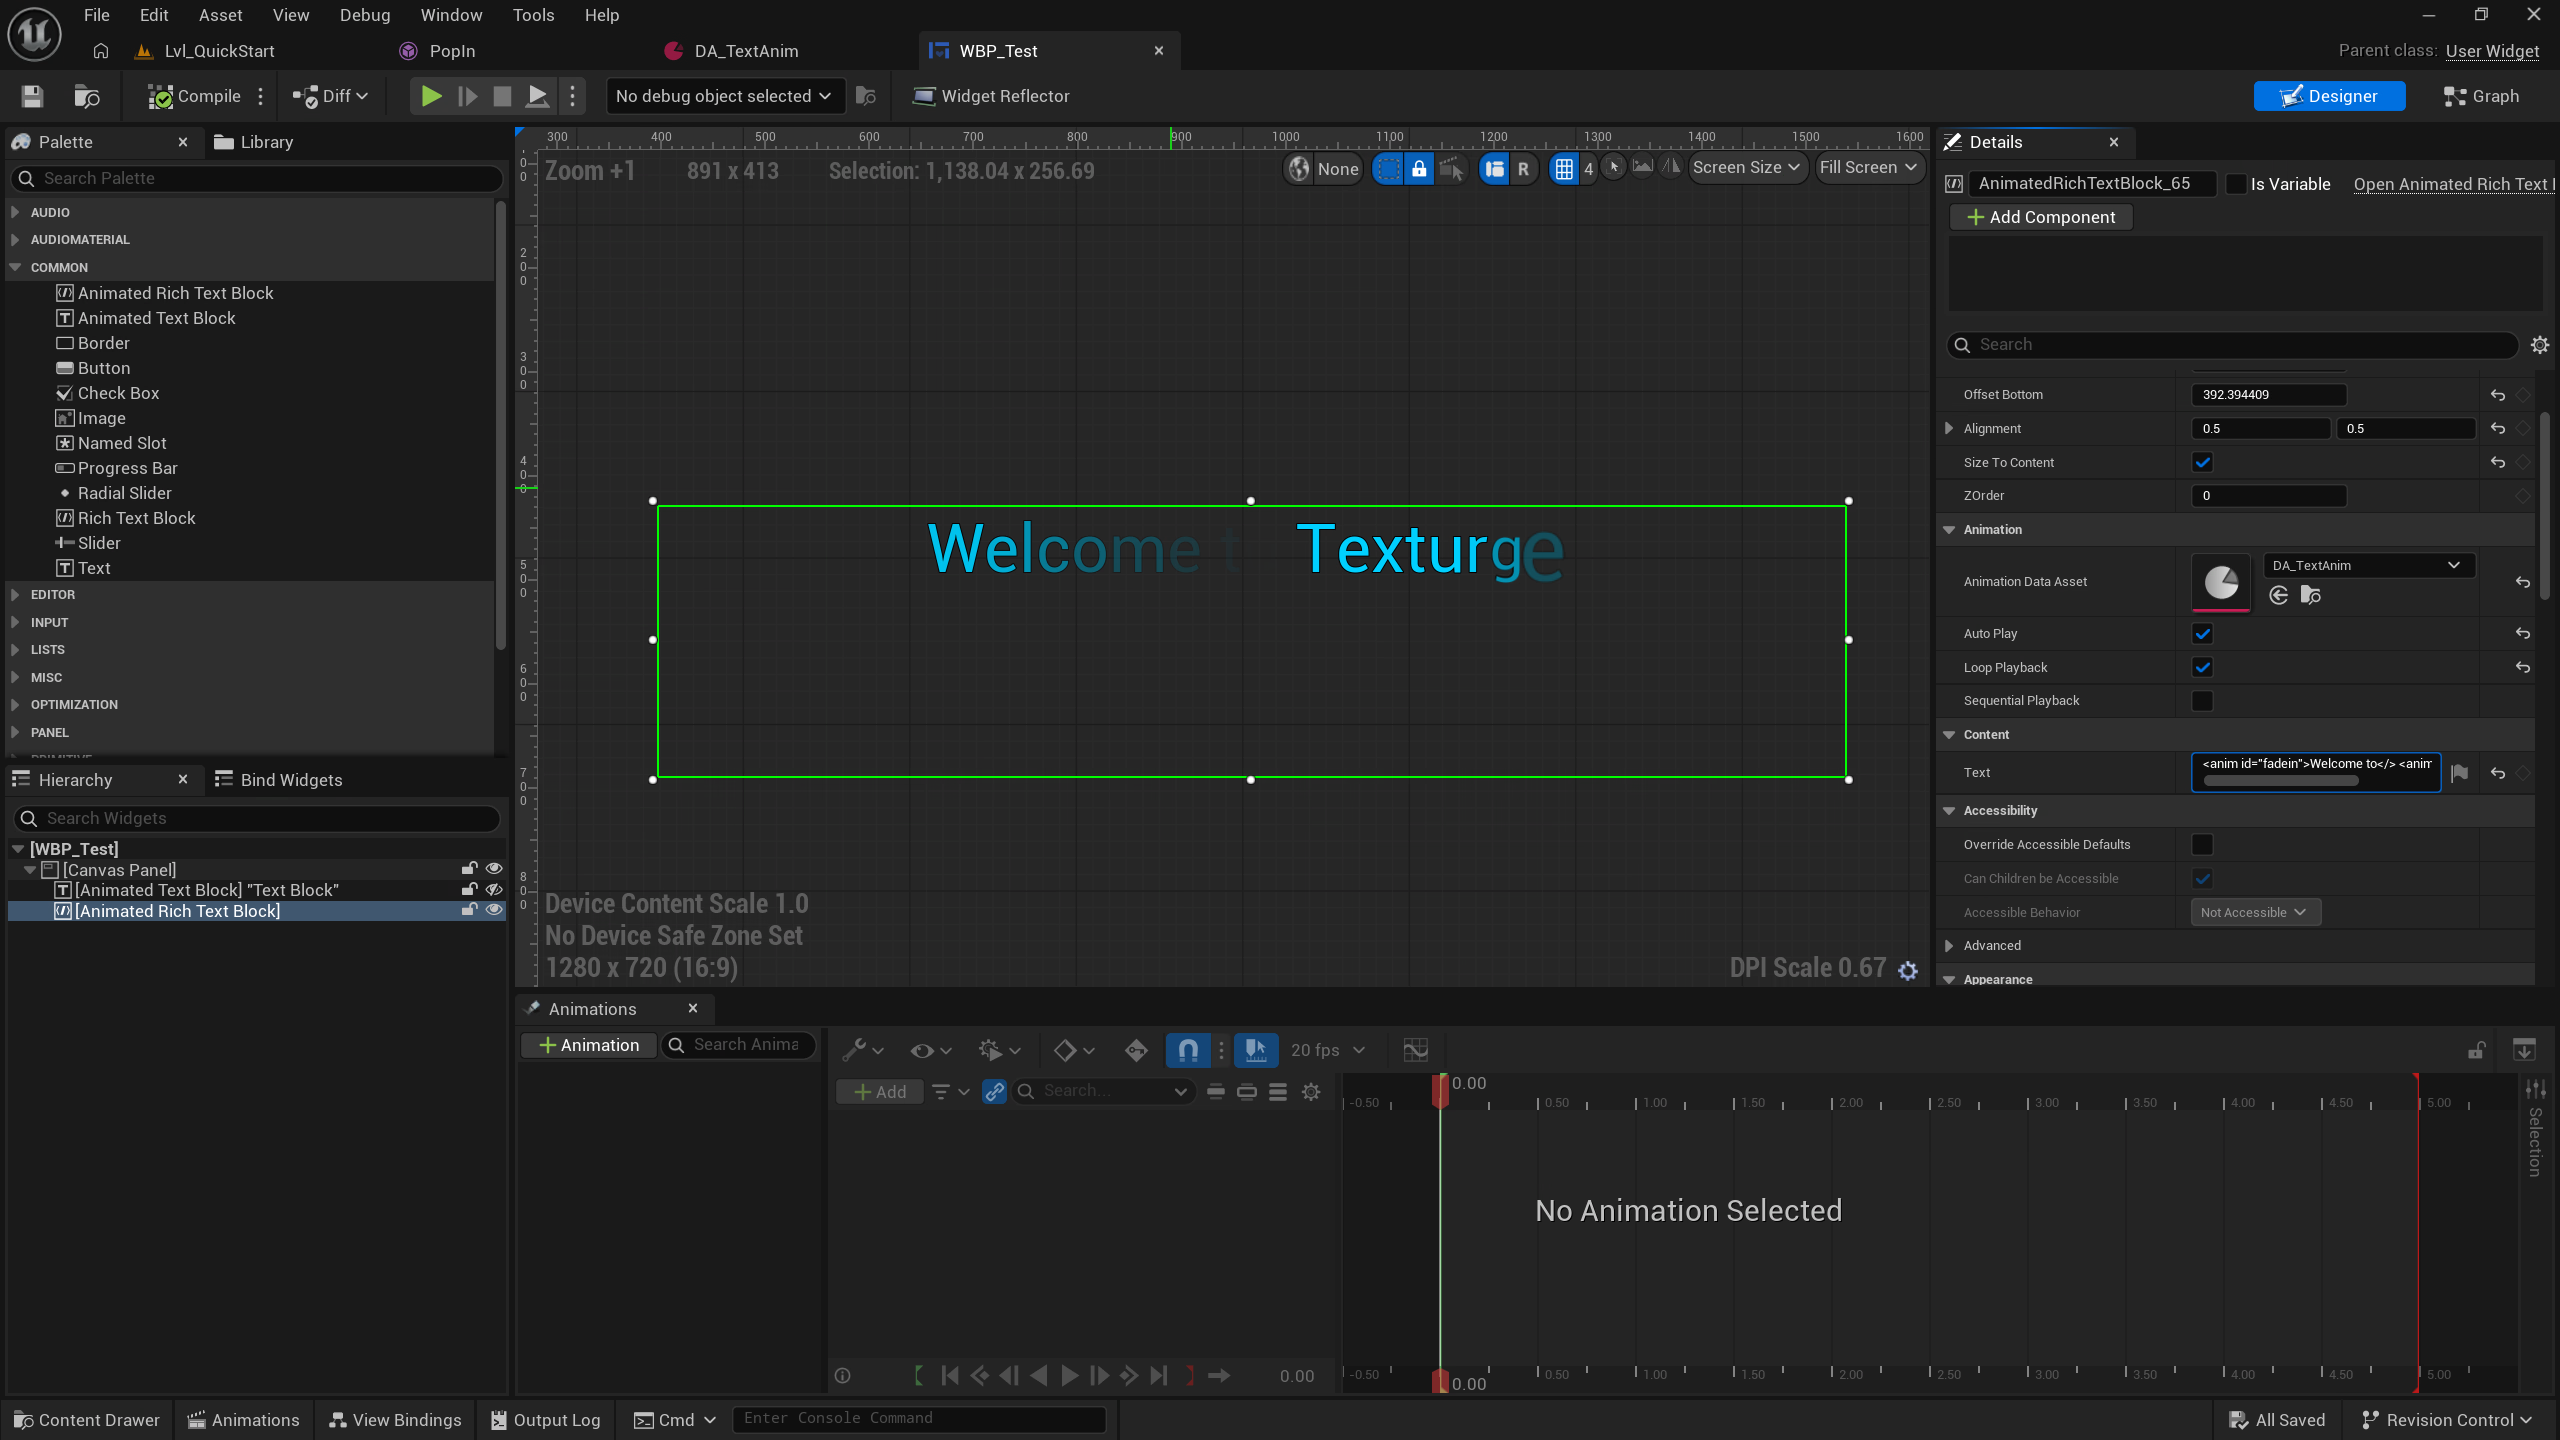
Create a UMG Widget Blueprint and drag in the Animated Rich Text Block widget
-
Configure the basic rich text block setup (default style, style set, decorators, etc., following the official docs)
-
Set Animation Data Asset in the Details panel to the data asset you just created
-
Write tagged text in the Text property:
<anim id="fadein">Welcome to</> <anim id="popin">Texturge!</>- Run and observe — each segment plays independently with its own preset
NOTE
The demo data asset
DA_TextAnimation_Demoalready maps all presets to entries — reuse it directly or use it as a configuration reference. Tag matching ignores case; unmatched<anim>tags log a warning and stay static.
Playback Control & Events
Applies to: controlling the playback lifecycle of preset animations in Blueprint or C++.
- Playback control nodes:
Play/Pause/Resume/Stop/Skip to End/Is Animating - Events:
Glyph Revealed (Blueprint)(per-glyph reveal progress),Animation Complete (Blueprint)(playback finished) - Looping: check the widget’s Loop Playback property, or use a preset that loops by design (e.g.
Pulse)
// Using a preset from C++ (assign the preset blueprint asset)
UAnimatedTextBlock* TextBlock = CreateWidget<UAnimatedTextBlock>(this, TextBlockClass);
TextBlock->TextAnimationBlueprint = PopInPreset;      // preset blueprint asset
TextBlock->SetText(FText::FromString(TEXT("Hello Texturge")));
TextBlock->Play();
Next Steps
Applies to: learning to author your own animations once you are comfortable with presets.
Presets demonstrate Texturge’s core workflow: curve assets (UGlyphAnimation) + animation blueprints (UTextAnimationBlueprint). After mastering”Creating Custom Animations”, you can:
- Edit your own keyframe curves in Sequencer
- Orchestrate multi-layer effects with Layer/Factory nodes in the
BuildDefaultAnimationevent - Publish your finished animations as new preset assets